Day 24: Adventures in 3D Printing for Beginners - Rafts (Brims, Skirts)

Model on Raft, Popped Off the Print Bed

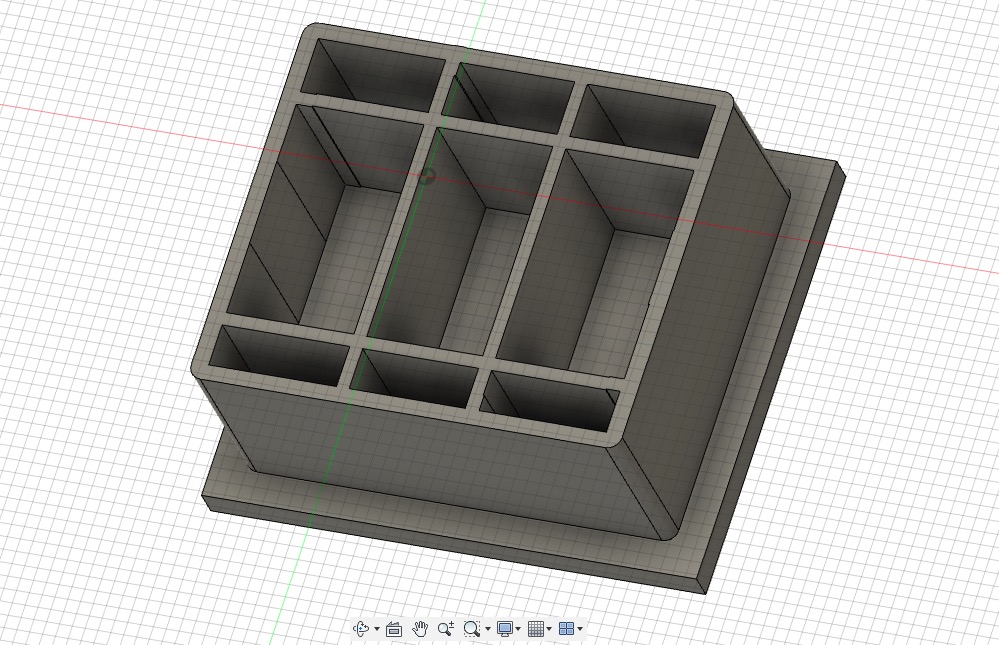
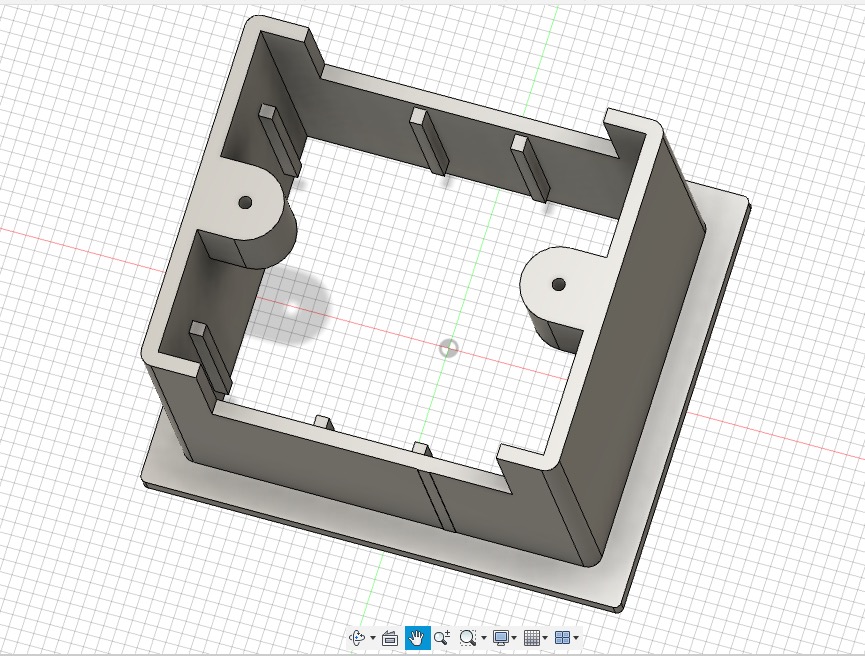
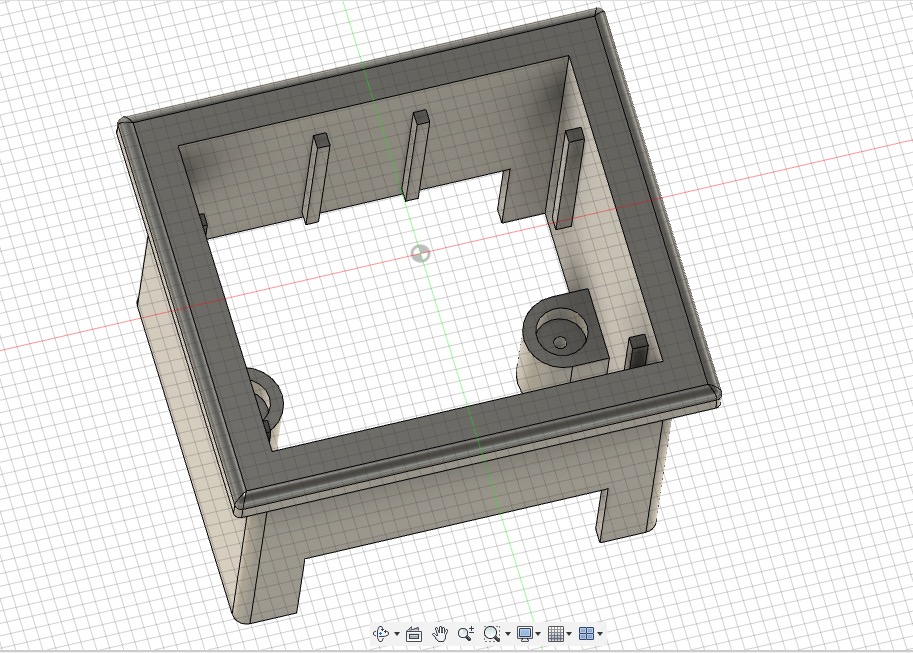
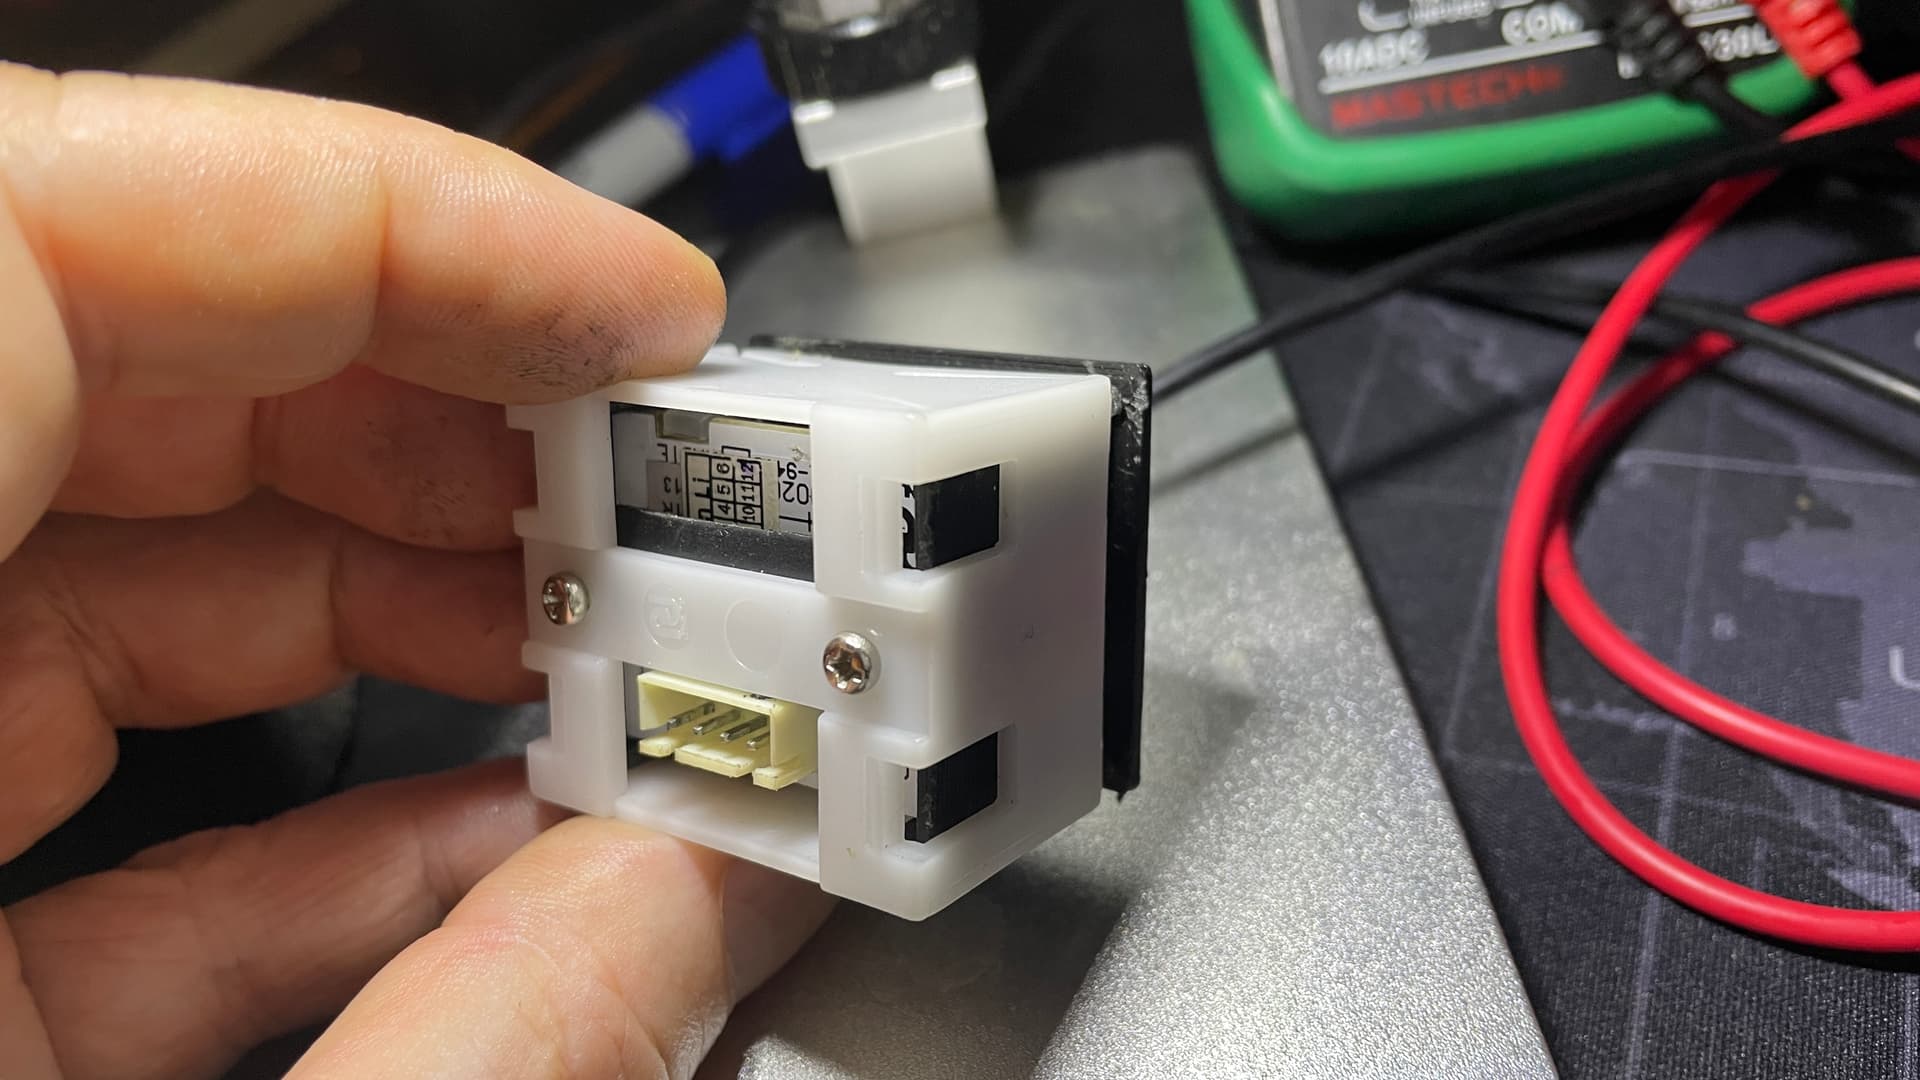
After two days of intense prototyping blank inserts for a Hitachi elevator button-hole (to block holes in the panel which are not needed), I could not get a nice finish on the bottom of the print, which is the surface of the part seen by users.

For details on the three main different types of print bed adhesion methods, rafts, brims and skirts; you can easily search the net or read the references at the bottom of this post. In a nutshell,

  • Shirt: A series of printed lines around the model to print which do not contact the model and only serve to prime the nozzle and prepare the nozzle for printing.

  • Brim: A series of printed lines and layers around the model to print which contact the model, helping with bed adhesion and priming and preparing the nozzle for printing.

  • Raft: A solid surface under the model, typically about 1mm tall (thick), where the model builds completely on top of the surface of the raft.

Much of the online 3D printing resources (see references at the bottom) advocate using skirts over brims, and brims over rafts, for a number of reasons. Most of these online resources repeat each other and from my experience, these resources are misleading.

The resources on the net basically say that skirts and brims will provide a much nicer surface on the bottom of the model where it meets the print bed. However, I have printed dozens of models over the past few days, and my experience was that, regardless of how careful we level the print bed, or set of temperatures, feeds and speeds, that rafts consistently provide the nicer print surface on the bottom of the print (percentage-wise), all things considered.

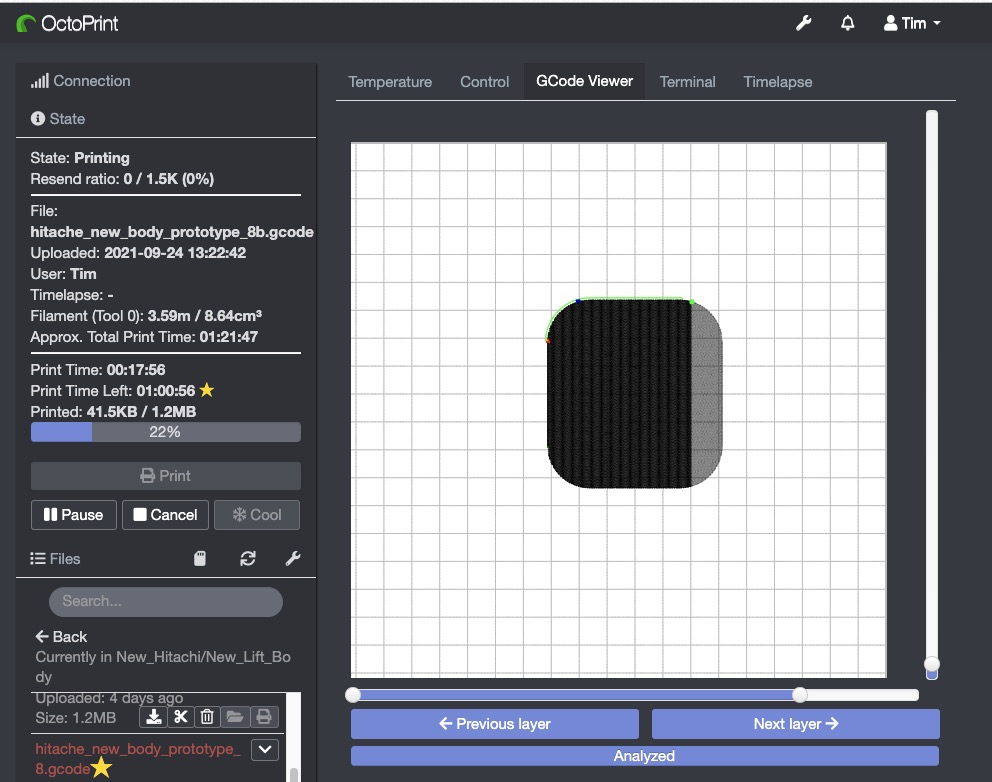
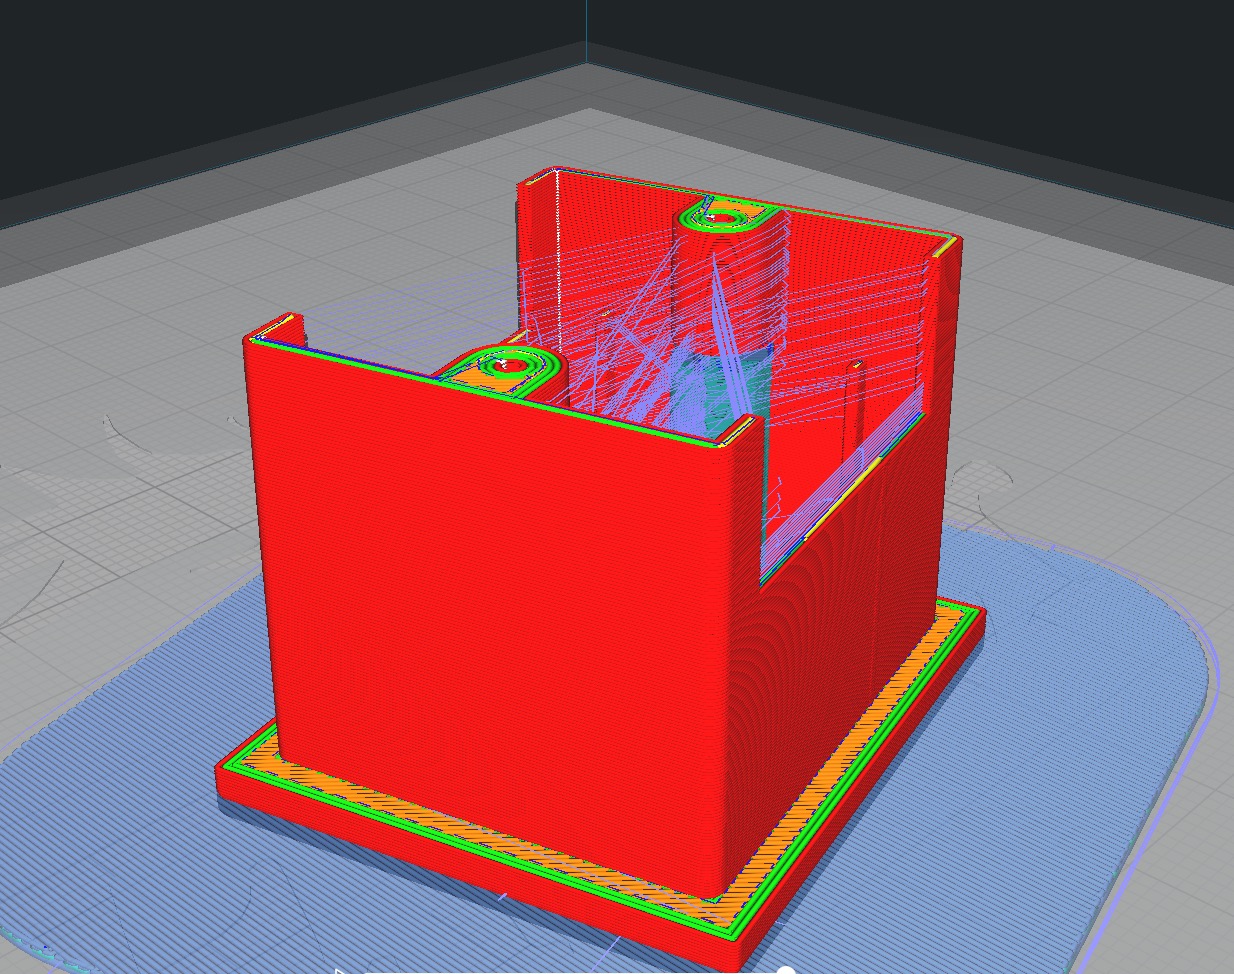
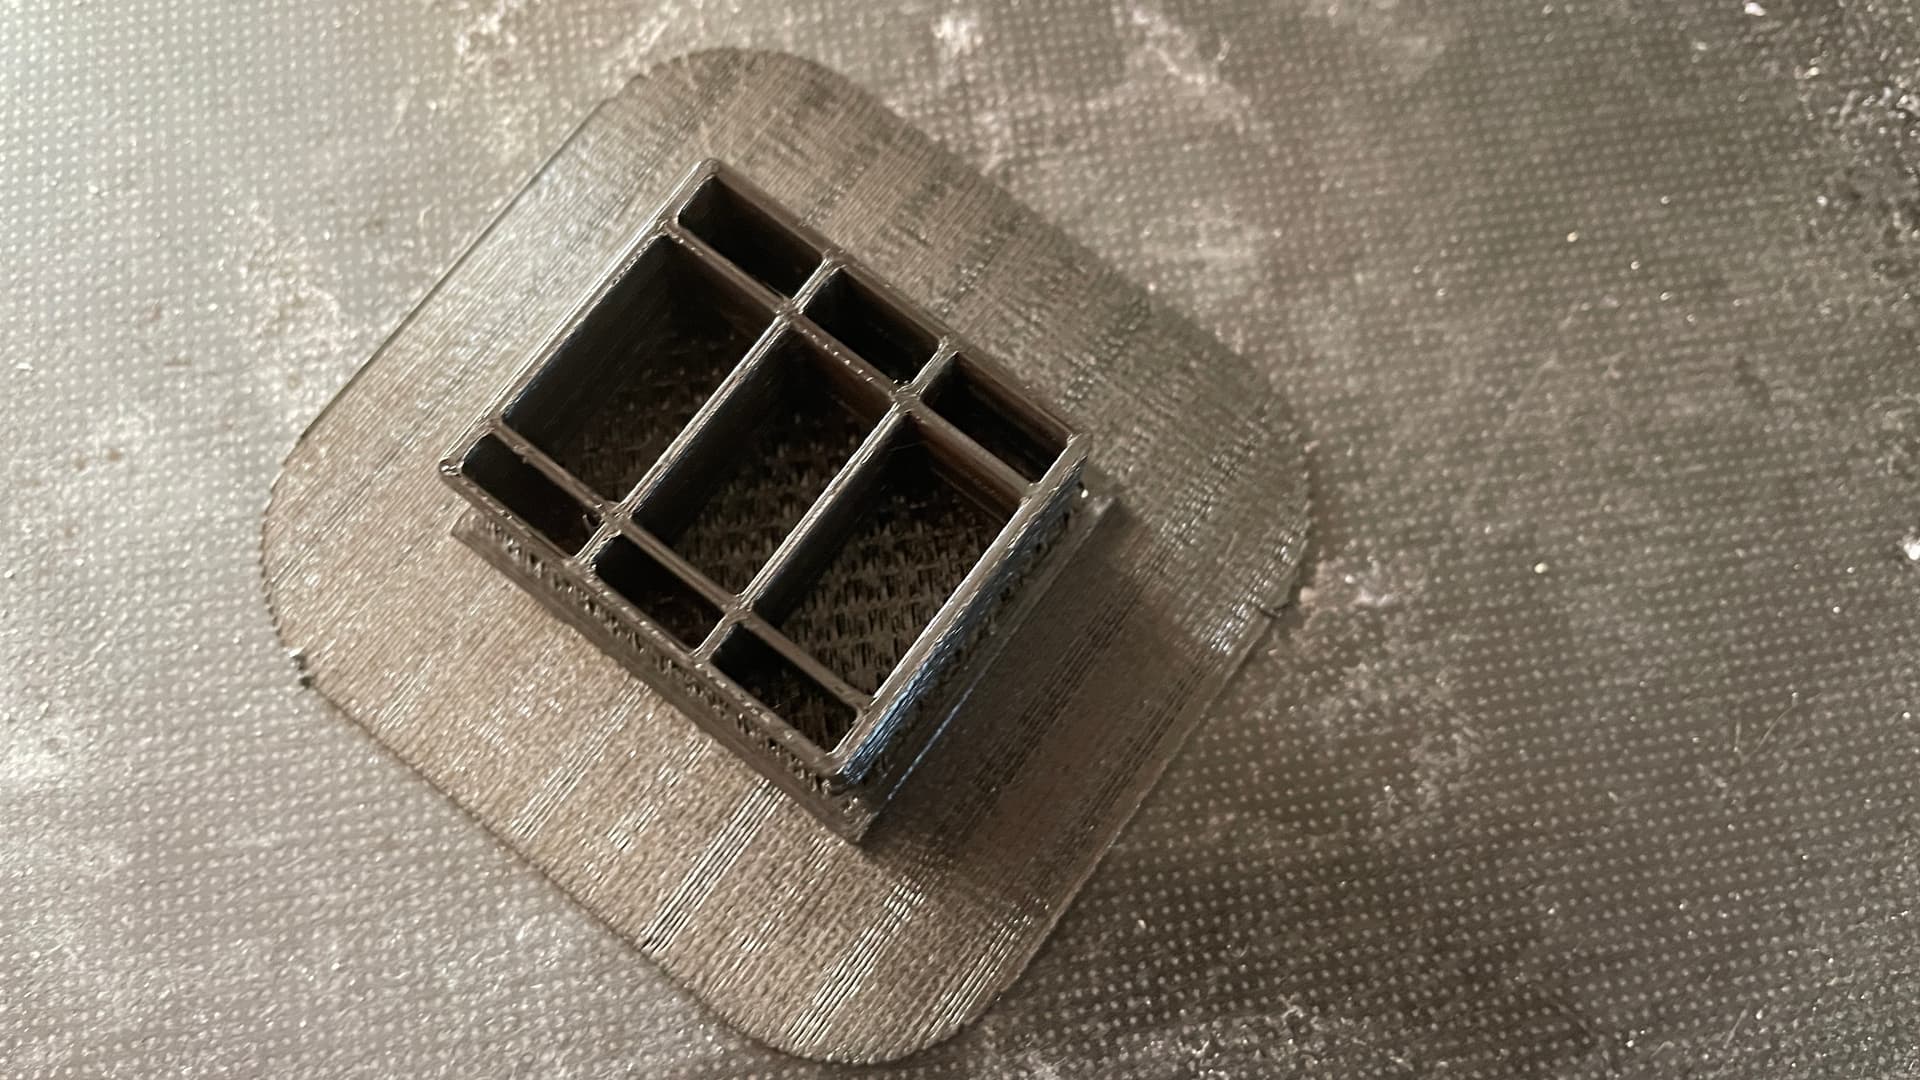
Here is one of my simple design prototype models printed "top down" on the print bed using a raft. You can see the large raft, 1mm thick as a solid layer between the model and the print bed, forming a consistent base for printing.

The literature says that prints with rafts are generally harder to remove from the print bed; but I found this to be incorrect. The reason is that if we use a skirt or brim and the model is stuck to the print bed, makers use a scraper or similar tool to pry the model off the bed. My experience is that this "prying action" can damage and often does damage the model.

If, on other hand, we use a raft, we can simply pry up the raft and leave the model without being damaged. I tested with across dozens of models and prints with rafts are far easier to remove (without any damage at all to the model) from the print bed.

Many online "expert" sites are also adamant that rafts do not provide as smooth a "bottom surface" as skirts or brims; but I found that also not to be the case, for a high percentage of prints. My test prints show that rafts provide a more consistent bottom print on a wide variety of surfaces, with and without extra bed adhesion (like a glue stick or hair spray, which do effect the surface of printed models).

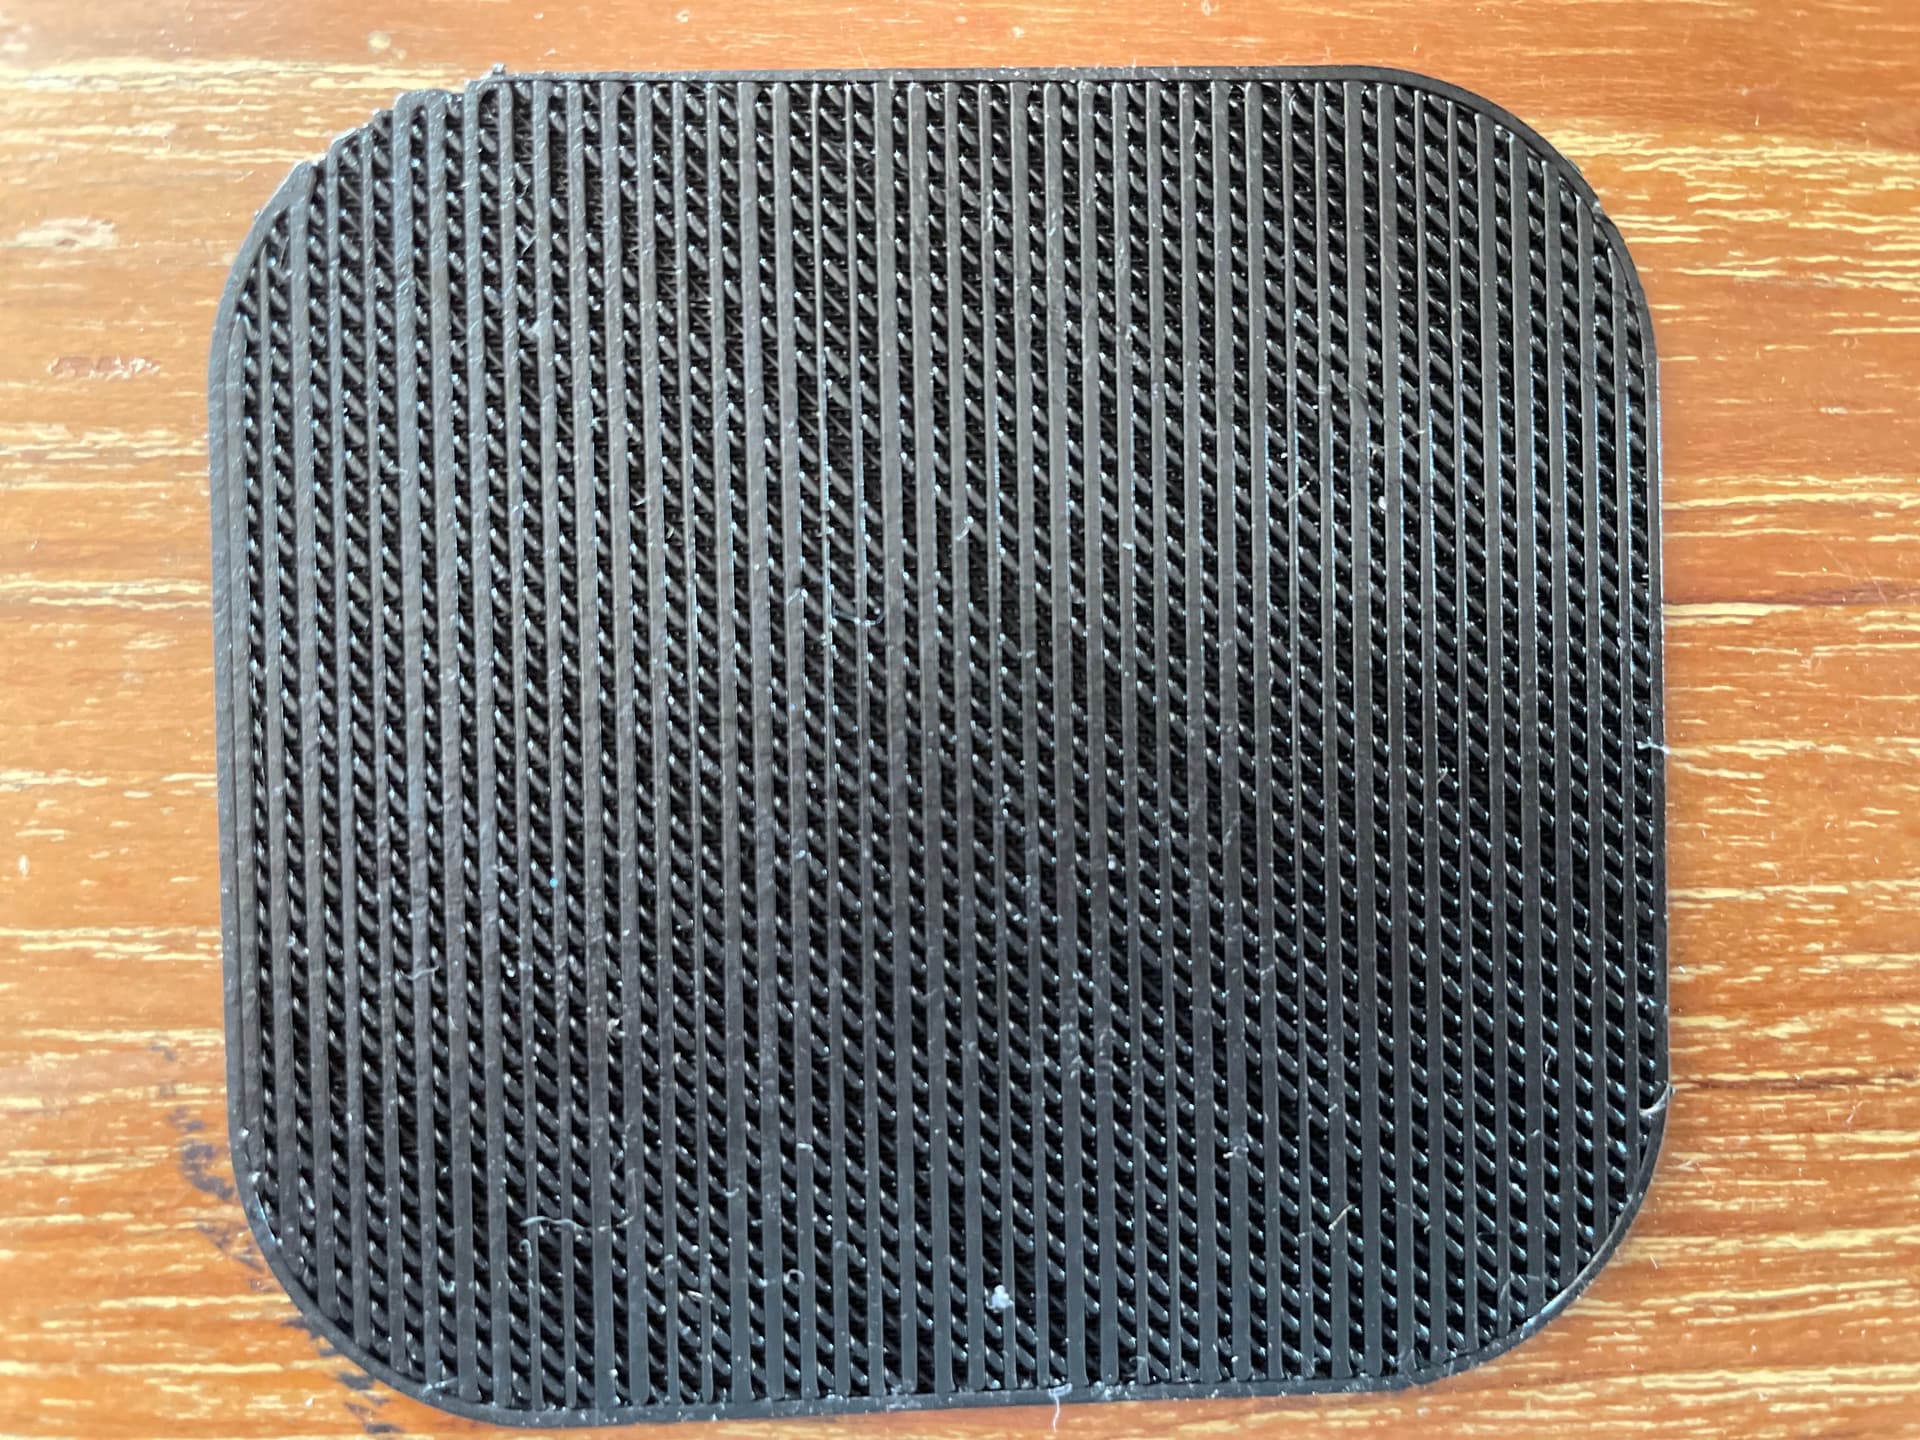
Below are views of the top and bottom of a raft with the model removed, post printing:

Top of Raft (Model Side)

Bottom of Raft (Print Bed Side)

Numerous online resource advise that if we use a perfect glass print bed, we will get very nice bottom finishes; but my experience that the strong adhesion on glass often requires some tools to remove the model from the bed, and this will damage, to varying degrees, the model). In a perfect world, where the perfect glass surface ends up with a perfect print which perfectly pops off the print bed, yes we will get a nice surface; but my experience is that a perfect print is a lower percentage print when printing many prototypes, one after the other.

The online reference sites (like the ones below) also opine that this extra 1mm of plastic waste is a downside of using rafts; but my experience is that you sometimes have to toss prints into the waste bin because of a poor bottom surface finish with brims and skirts, which would not happen if you used a raft.

Sorry that I do not have the time to make polished YT videos to illustrate this; but in the past few days I have printed 4 perfect prints with beautiful "bottom surfaces" in a row with rafts after a number of "not beautiful bottom finishes" using brims and skirts. The difference in bottom surface quality is remarkable and rafts provide a consistently higher quality finish on the bottom of the print vis-a-vis brims and skirts.

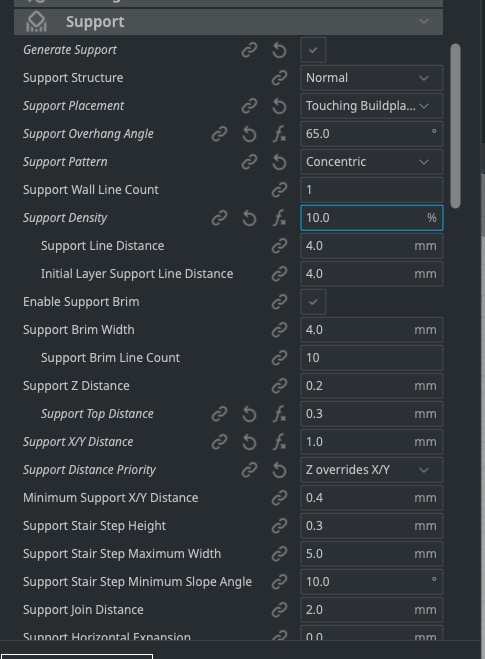
Close Up of Bottom of Model

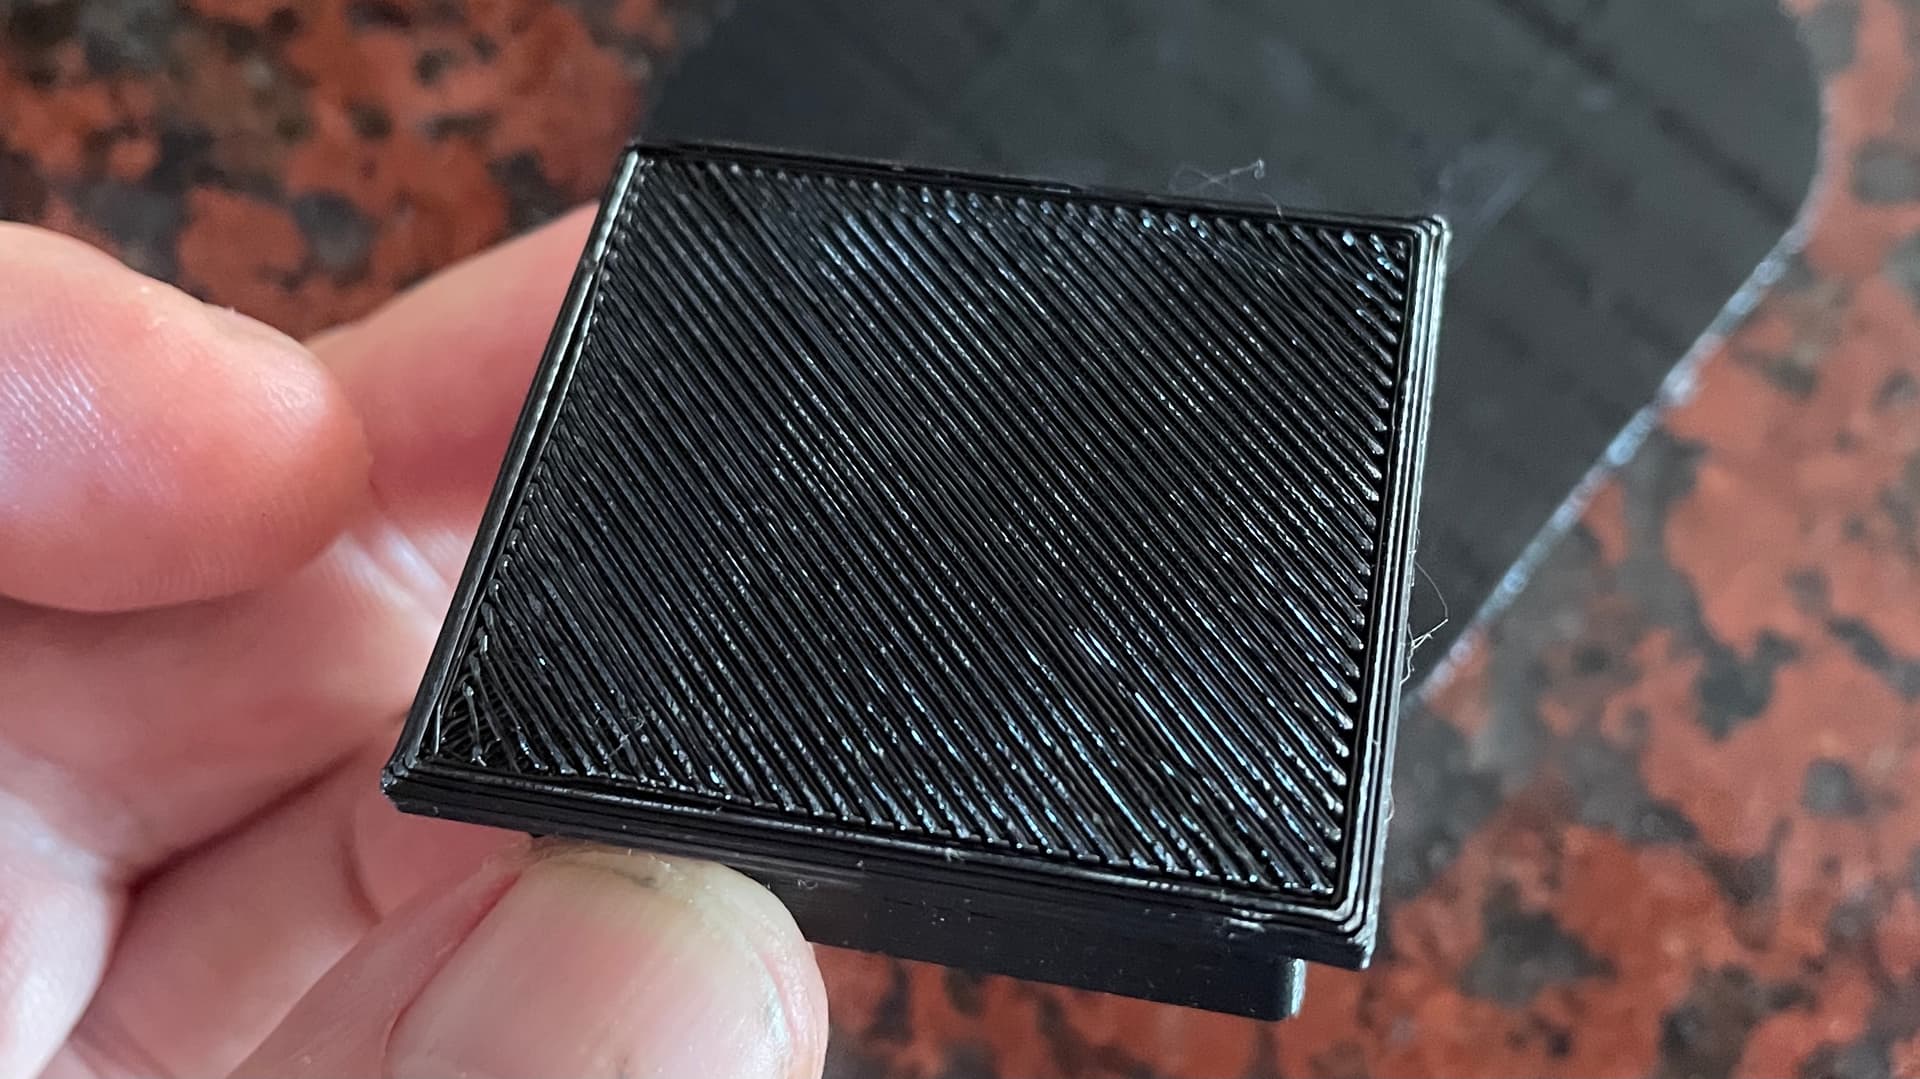
Note. The finish of this print looks much better "in the real" viewing at a normal distance from the surface.

In brief summary, I am not advising that everyone stop using brims and skirts and should print only on rafts; however, if a maker needs a nice bottom surface finish and not getting the results you want with brims and skirts, do not hesitate to switch to a raft. Rafts have a undeserved "bad rap" in 3D printing; but in fact, rafts are very cool and can produce outstanding bottom surfaces in 3D prints, when required.

Please comment if you have experience using brims, rafts and skirts and any experience you have with bottom surface finishes where the model meets the print bed or if you would like to know more details about my testing and prototyping.

Reference:

See Also:

Fusion360 View of Model

1 Like

Here is something to consider when all things are equal.

It takes longer to print a raft than it does to print a brim; and it takes longer to print a brim than to lay down a skirt.

You can see from OctoPrint, I'm over 17 minutes in into this print, and the printer is still laying down the raft.

On the other hand, because we get the desired surface on the bottom on this part, I continue to use the raft for this particular model.

In the case, 20 minutes into the print, the raft is completed and the printer is now working on the actual model:

The good news is that because I am using a raft, the printing process and surface finish will be mostly "worry free". Design and engineering is always an exercise in trade-offs, and do in this case we trade-off time and a little extra material for a better print quality.

Did you consider to turn your model upside down?

Yes but then the model requires a lot of support which will cause other problems.

In fact, the first few protos were “face up” but the support required to print the face overhangs is excessive and problematic.

The only reason I am printing “face down” is because of the support issue and I have yet to blog post about that issue.

When I have time, I will post about overhangs and how supports are required when 3D printing (additive manufacturing) and some design trade offs.

Here is a model I am working on prototyping today. In the "face down" position in the picture below, there are two overhangs to deal with, the semicircles with the screw hole both need support. Proper printing of these structures are required because the other side (the side you cannot see in this camera perspective) hold small springs for elevator buttons.

If we flip the model over and print "face up", as in the perspective below; then a lot more support is required. The frame around the top of the model all requires support and so do the notches for a snap part and also all the little guidelines. That is a lot of support to tear off the finished product.

The next image is from Cura showing a perspective of some of the support, "face down". We can see the support "tower" under the middle structures (minimal support).

Now, let's flip the model over as @MadeInGermany asks us to consider (below). You can see the entire outside of the model requires support.

If we bring the perspective view of the slicer down a bit, we can see additional support for the notch. The model is starting to look like it is overwhelmed with support.

This aspect of additive design (3D printing, in this case) makes for very interesting work and is actually very interesting (and challenging).

I prototyped various prints "face up" and "face down" and only "face down" was viable. This left me the challenging of tweaking the support which would be inside the model so tearing the support off the walks would not cause too much roughness between moving plastic parts.

In the next image I show a view of "page 1" of 4 of specialized configuration variables for tweaking support in Cura.

Screen Shot 2021-09-24 at 7.43.52 PM

In the final draft prototype, I ended up specifying the support inside the model would be about 1mm off the wall, helping insure the support would tear off the walls easily post-processing. I also tweaked a number of other "advanced" parameters, including various Z distances top and bottom and insuring Z overrides XY, etc.

The good news is that this model is almost done. We tested a few prints today and the buttons work good. However, I need to made a few small adjustments with the back housing before testing again tomorrow.

Here are some photos of the assembly as of today of a "Floor 2"" lift button:

A Top Perspective

A Side Perspective

A Rear Perspective

You can see a ohm-meter in the background where I was checking a few LEDs on the little printed circuit board earlier. If all goes well, the prototype of one twin set of lifts will be done tomorrow; and with a little luck, we will have replaced around 10 buttons today by the end-of-day tomorrow.

Below is a photo from today of one of the buttons (the "call us" button) installed today. The team is very happy with the results, which look orders of magnitude better than the buttons we replaced which were broken, chipped and vandalized from "covid key stabs" and other stress these buttons get from people daily.

In "the real" (in person) the lines from the printer actually look very good. The photos do not really do justice to the actually look "in the desert of the real".

I expect that housekeeping will clean and polish everything after all buttons have been installed and tested.

As a hobbyist with less than a month into CAD design with Fusion360 and 3D printing (from zero to novice), I can say that this is really a lot of fun, without any doubt. Now, everywhere I go my mind only sees "possibilities" of designs and prints to fix just about everything my eyes come in contact with!!

This is a hobby that I highly recommend to everyone, at this stage of my learning curve and experience so far.

One other note, I am not fascinated by printing action figures and cute little this-and-that thingies. I like fixing broken things, helping others, and designing replacements for hard-to-find parts; or making things which are needed but take to much time to search for and buy. This is my "sweet spot" at this point in time (Day 24) with 3D CAD design and printing.

Current Setup

  • Fusion360 CAD Software (free for hobbyists)
  • Cura Slicer (free for hobbyists)
  • OctoPrint (free for everyone)
  • Ender 3v2 3D printer ($200 - $250 USD)

That is very small money for a hobby with so many possibilities, don't you think?

Sure, it's an affordable fascinating hobby :grinning:

Perhaps you can boost stability by making the weak points a bit thicker?
For ex. the semicircles with the screw hole, do they need to be exact semicircles, or can the 90 degrees angles be flattened to say 100 degrees?
(However, a real business man wouldn't make the button houses last long...)

1 Like

It's not a matter of "weak points".

Support as the term is used in FDM 3D printing refers to structures created as a base for printing overhangs, which without structures, would print on "thin air". You cannot print on air so in FDM 3D printing, support is added, not because a structure in the design is "weak" but because this is additive manufacturing and so a layer is built on top of another layer or base. If there is only "air" printing cannot happen.

Summary: FDM 3D printing cannot print "on air" so structure called "support" is added to create the base to print on. This is used when any overhang angle is greater than around 45 degrees (give or take).

For more info, check out these references: