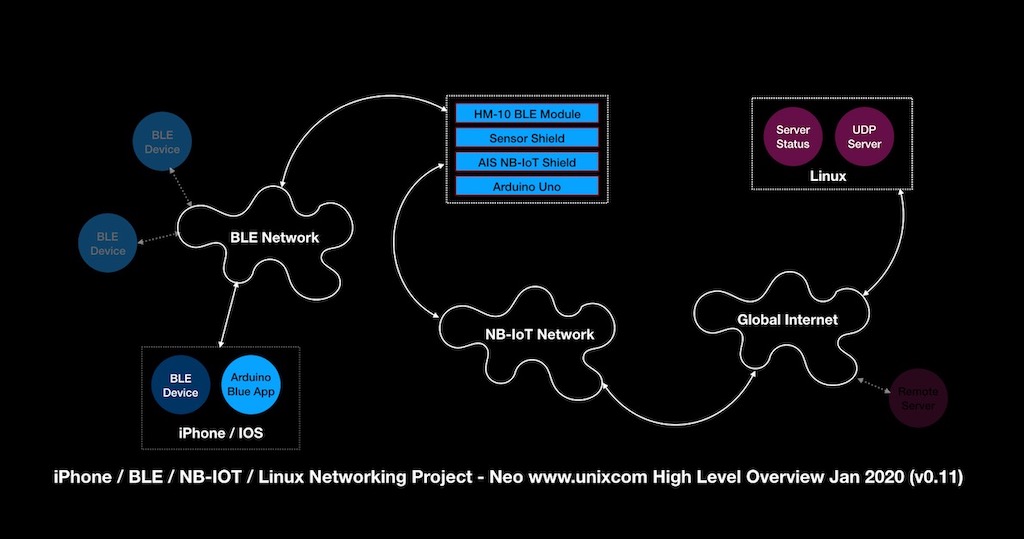
This post describes a "work in progress" project I started today. Here is the High Level Overview:
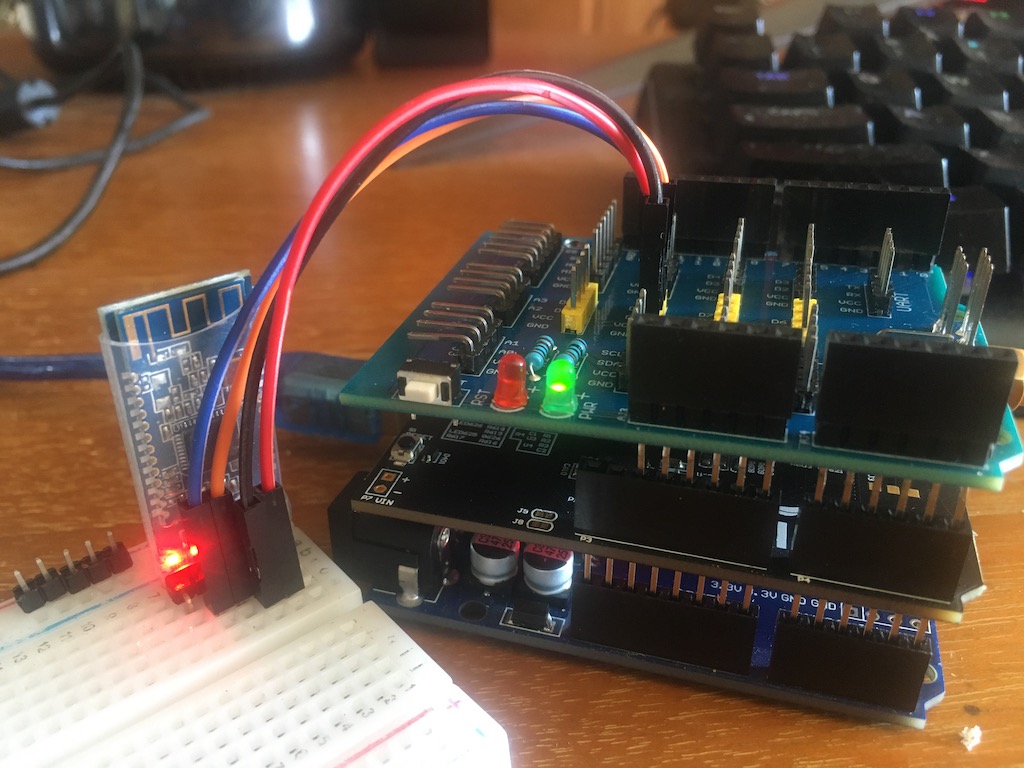
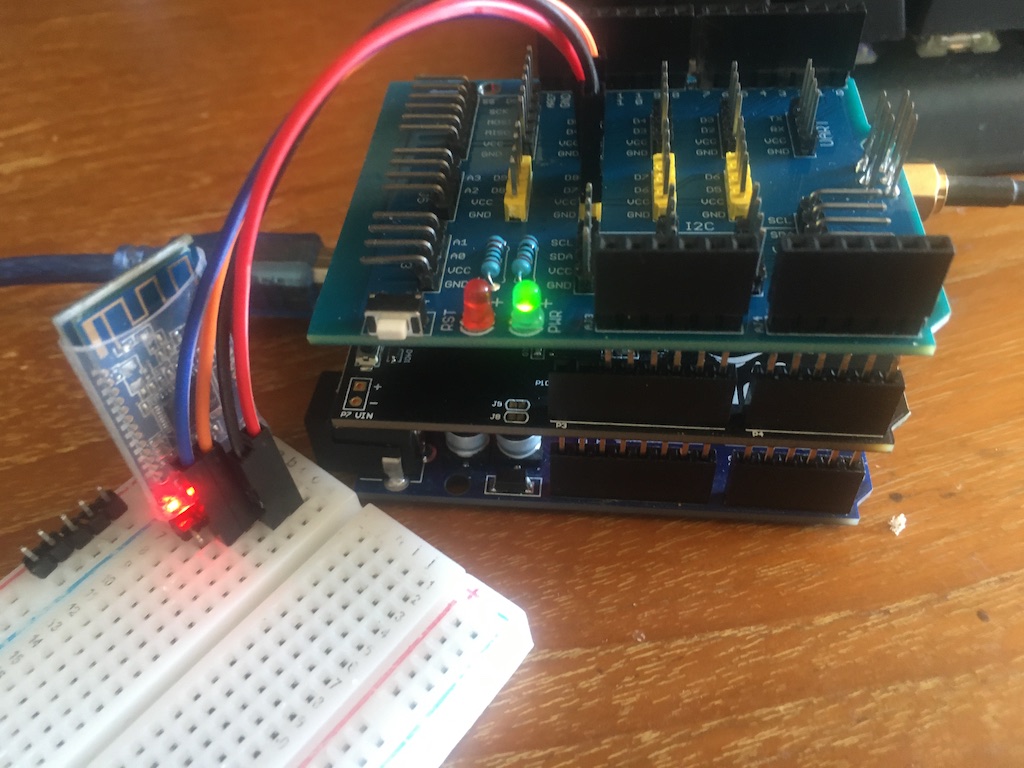
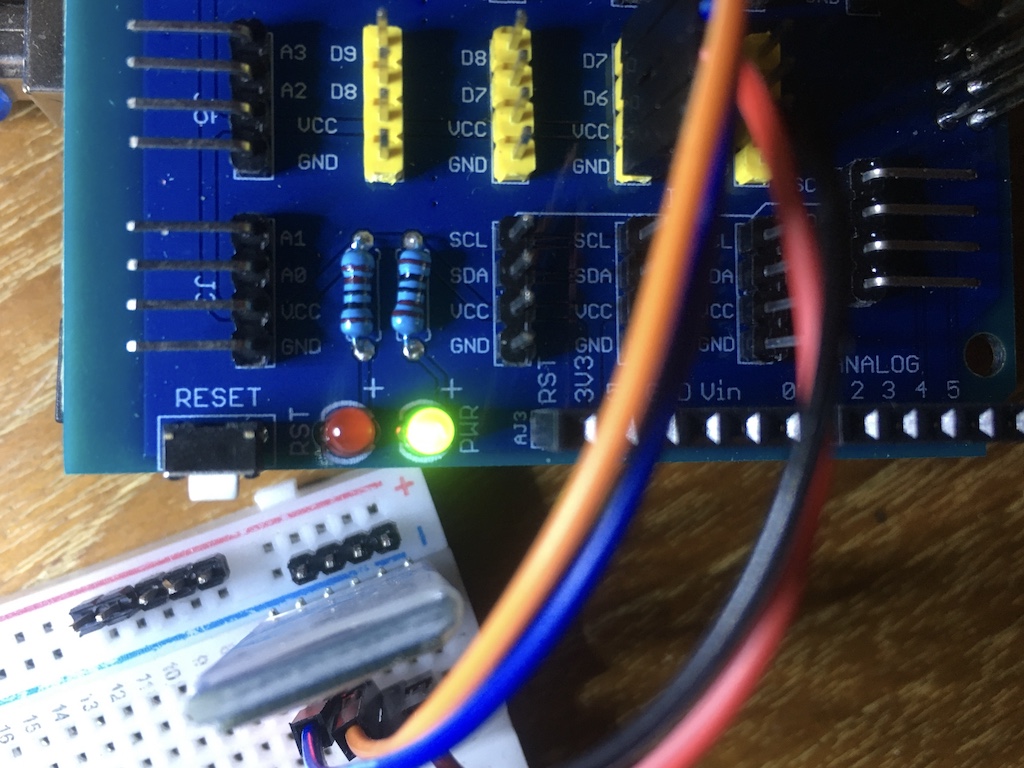
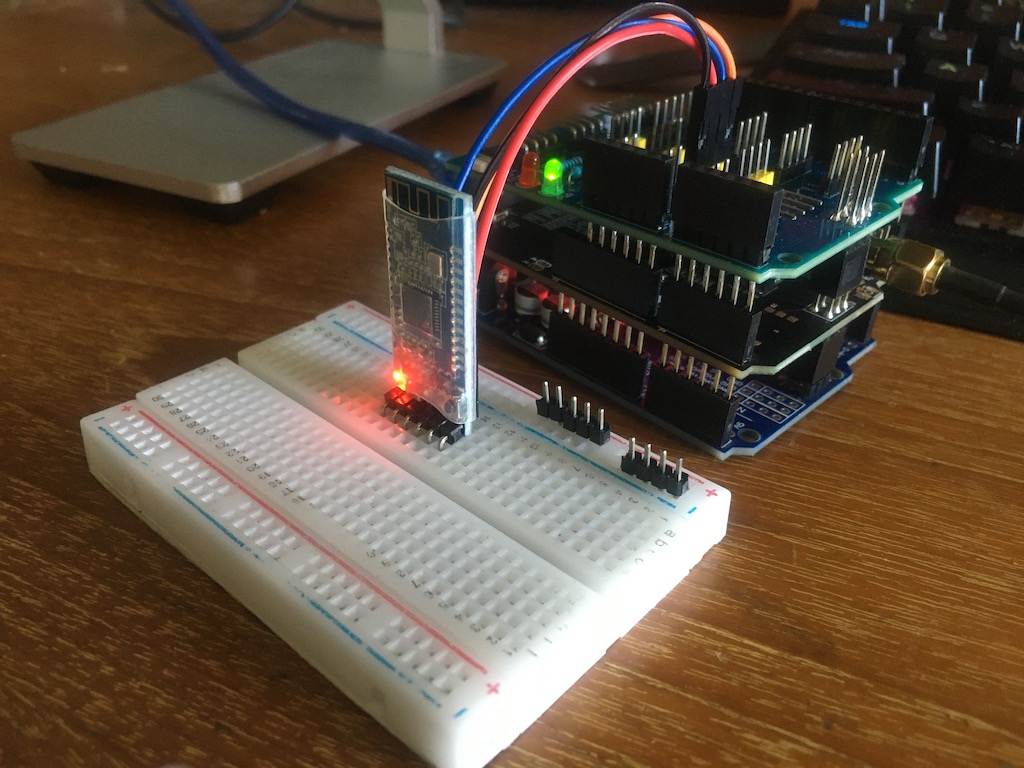
Currently, this project sits on my desk as an Arduino UNO (on the bottom), an NB-IoT Shield (sandwiched in the middle), a Sensor Shield (on top) with a HM-10 BLE Module (in the little bread board):
The goal of this project is to combine the simple results from these two Arduino tests:
-
Basic Arduino UNO Bluetooth Testing with the BLE 4.0 (CC2541, MLT-BT04 IC)
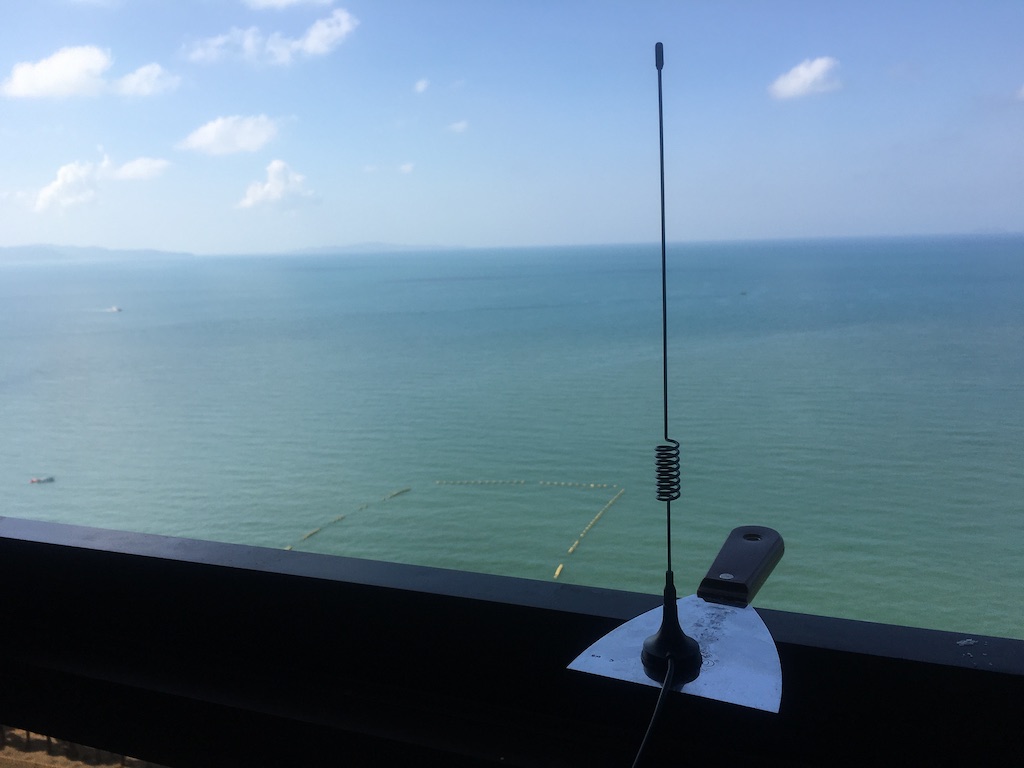
- NB-IoT Arduino Shield from AIS (Thailand) First Impressions
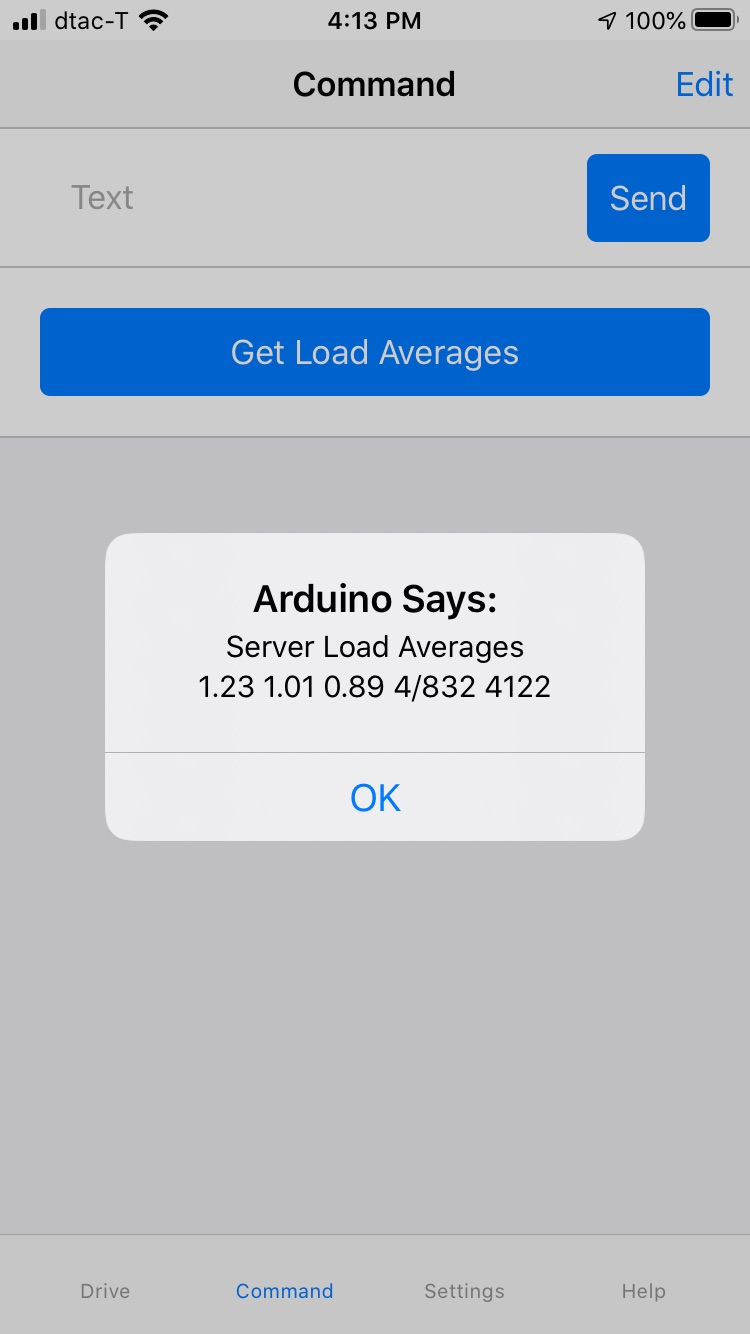
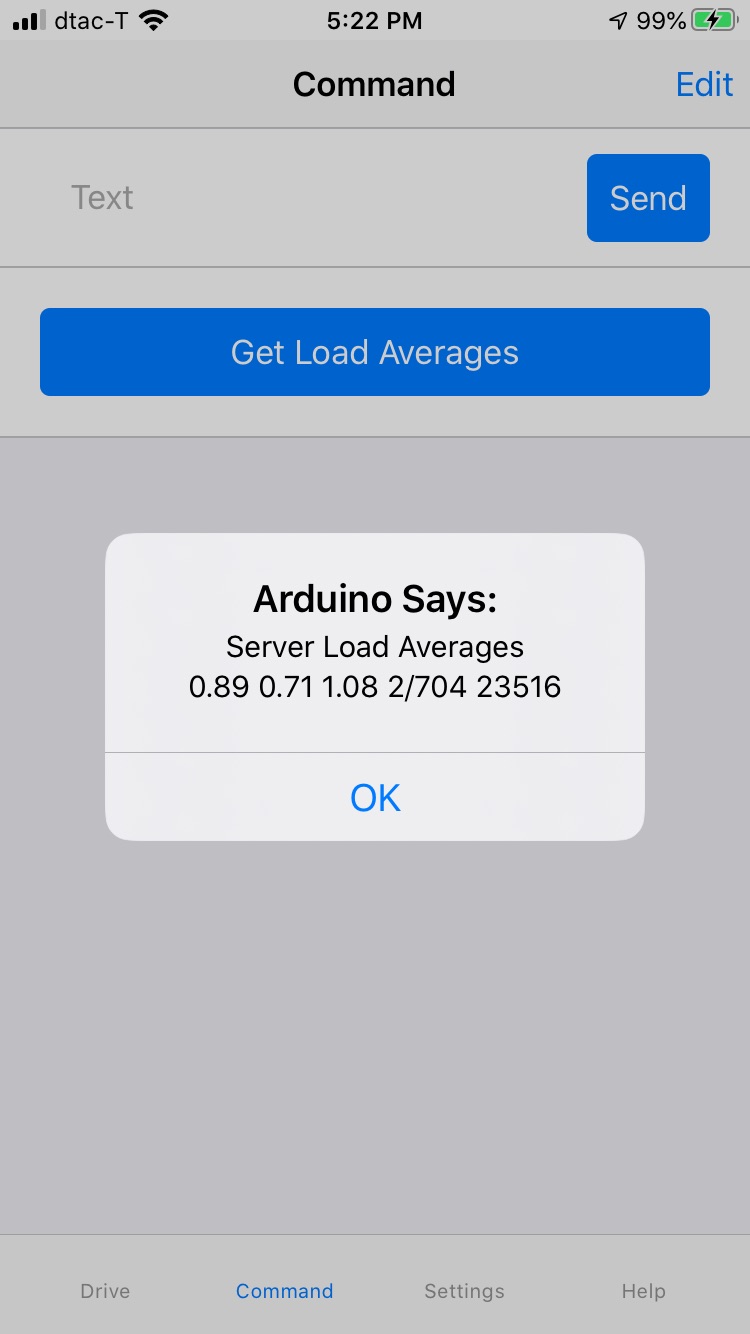
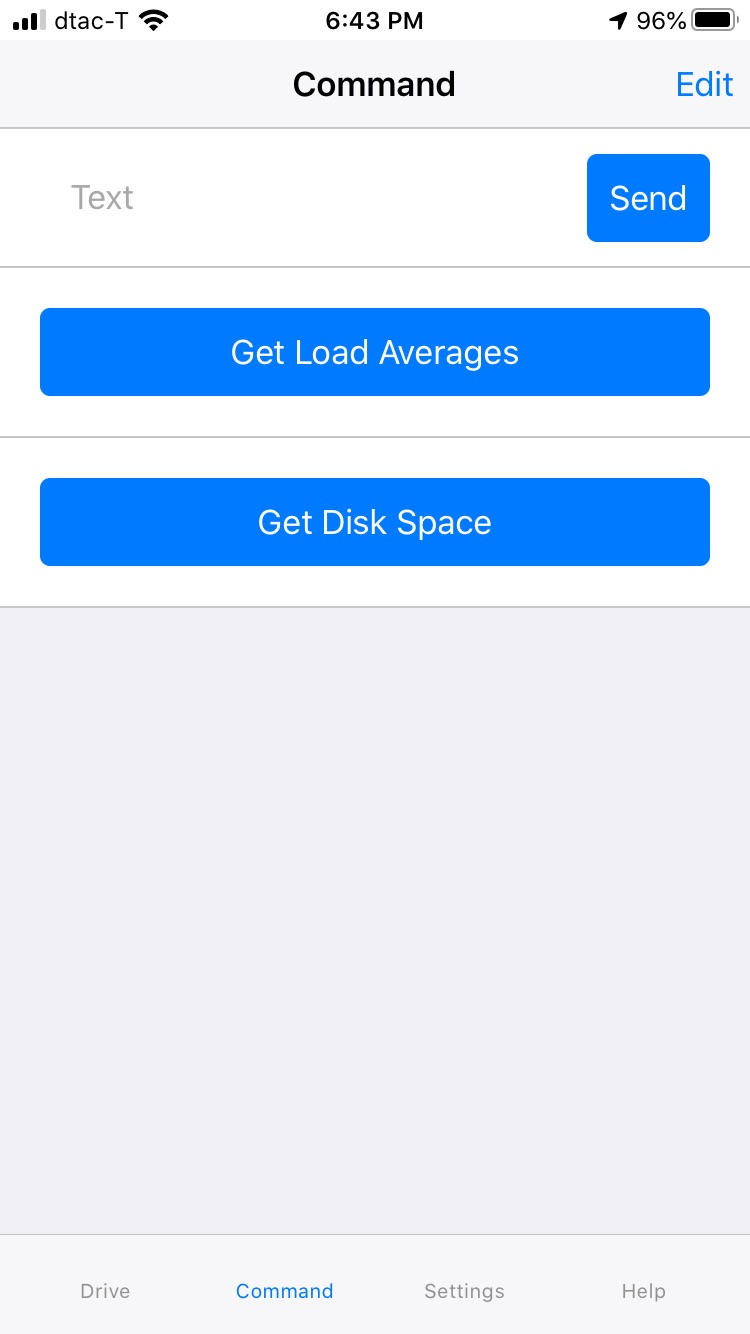
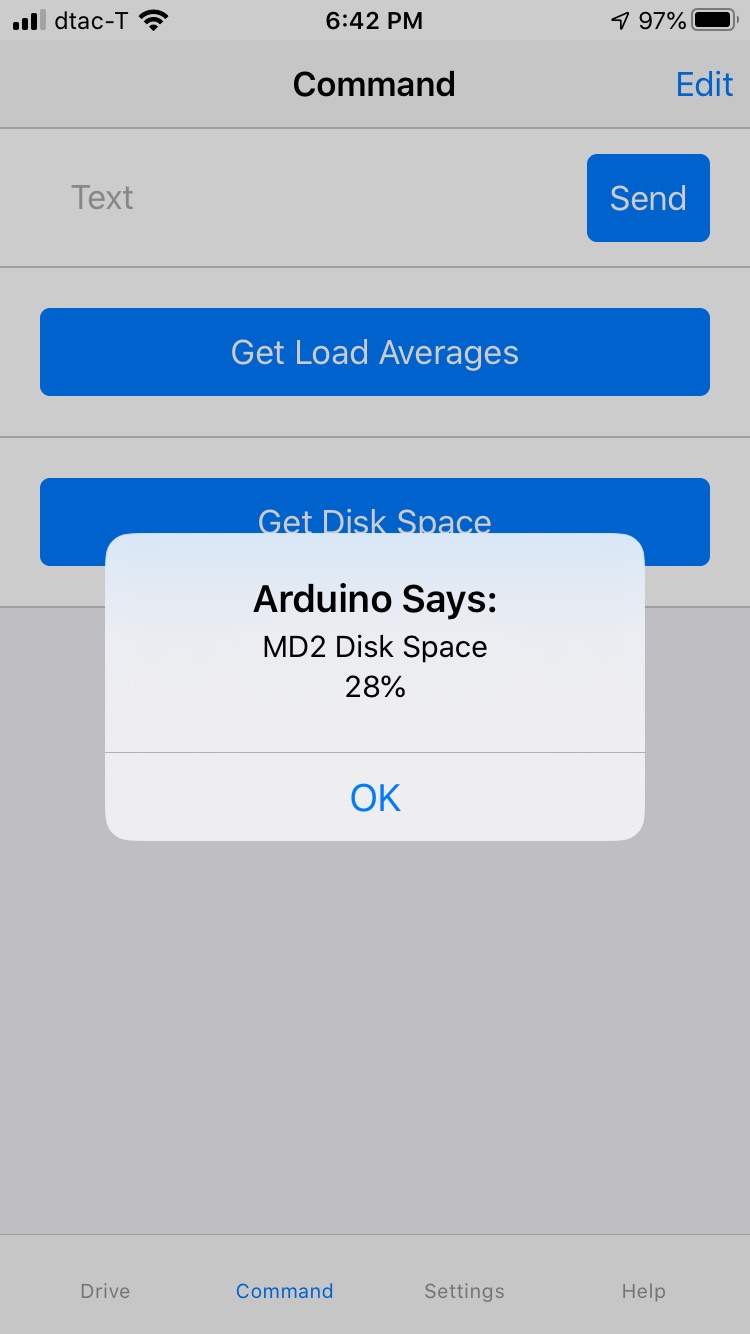
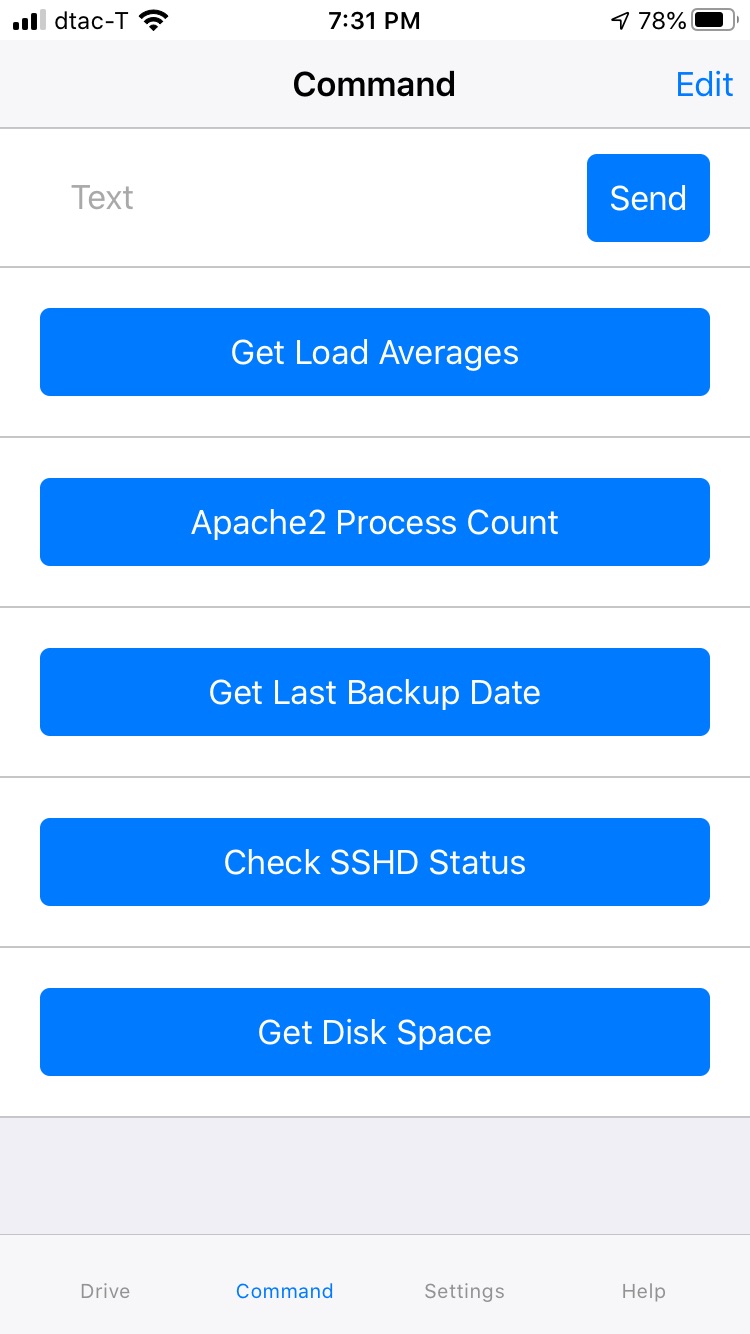
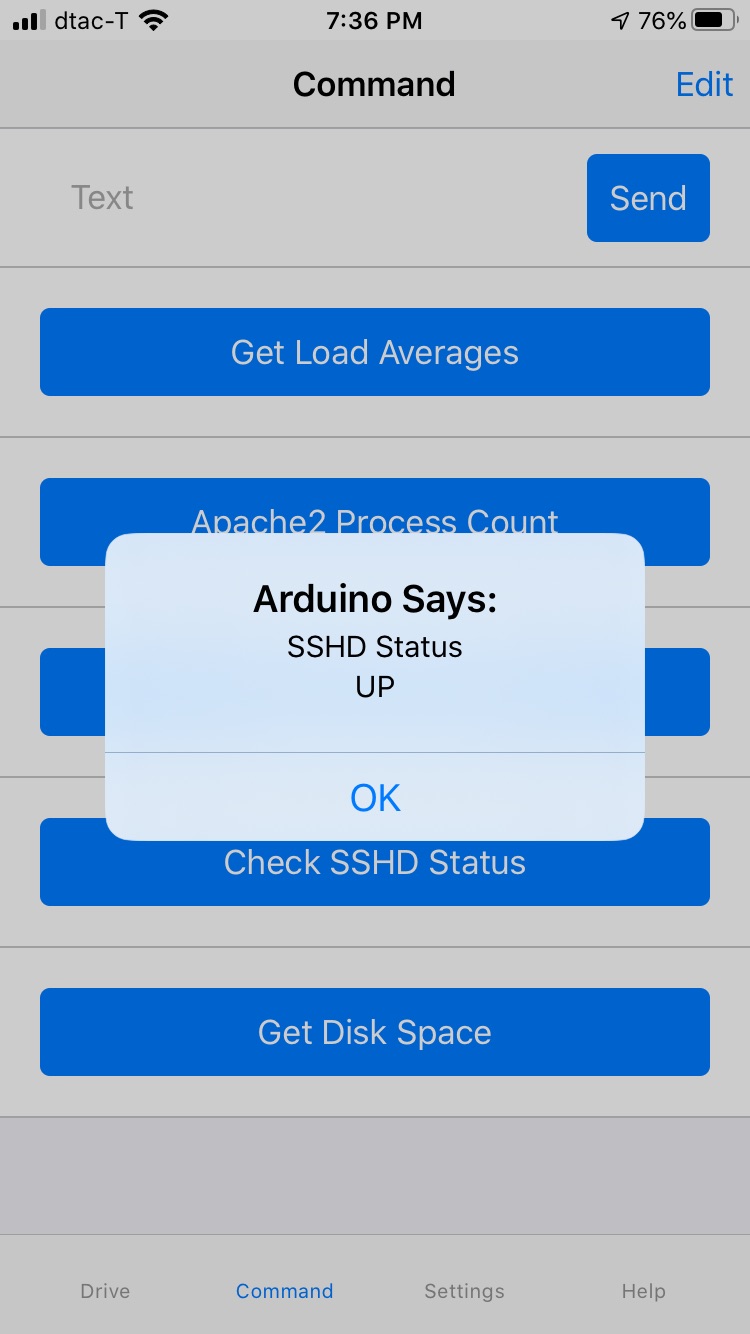
In a nutshell, I am going to attempt to combine two different Arduino apps / sketches, which currently work independently, into one Arduino UNO sketch, which will permit me to press a button on the iPhone (using the ArdunioBlue app, tested in the link above) and send the BLE message to the Ardunio and then forward/send a message (based on the BLE data) to the NB-IoT network which will relay the message to a Linux server on the Internet; and then get some server stats based on the iPhone BLE message and return the results to me and display it in a popup message on the iPhone.
Basically, I have (1) the BLE part (from the iPhone to the Arduino) working fine (see link above); and I also have (2) the NB-IoT part between the Arduino and a Python UDP server on the other side of the world (across the global Internet) working independently of each other (also in a link above).
In addition, I have already combined these two projects into a single Arduino sketch, but when I enable both apps at the same time, there is a "yet to be debugged" (actually, I have debugged for about 30 mins but don't have the answer yet), conflict between the Arduino Serial communications between the two apps.
Basically, there are three Arduino serial comms in this caper (on the Arduino):
- The BLE Serial communications between the HM-10 BLE module and the Arduino UNO.
- The NB-IoT Serial communications between the NB-IoT shield and the Arduino UNO.
- The standard "serial monitor" output in the Arduino IDE.
The third one (the basic serial monitor) seems to be working fine. However, there is a "conflict" between the first two (the BLE and the NB-IoT serial comms).
When I enable one or the other, it works fine; but when I enable both at the same time, the NB-IoT lib setup() method locks up waiting on the availability of a serial device (in the library code). This leads me to believe there is a "conflict" between the serial comms in the two libs, since they were (obviously) not designed to work together.
So, that is where I stand today on this new project.
I could post the current Arduino "combined" sketch, but I would like to "read up" on Ardunio serial comms first and try another round of debugging before I do.
Why do this project in the first place?
Well, I wanted to do an Arduino project that "no one else has done." I have looked at around a bazillion YT videos (and Internet posts) of Arduino projects, and I'm not currently interested in opening trash cans with sonar or opening relays and turning off/on lights, controlling motors, and all the other "like minded" Arduino projects out there ad infinitum. Don't get me wrong. Those are all nice projects and I respect the makers, all of them. However, I'm inclined to network systems engineering and this project is useful to me, as follows:
Sometimes I want to know the load on a remote server or some other remote server / app statistic. If there is a problem with the Apache2 web server, of course it is hard to get the stats via HTTP because both the monitoring and the applications are in the same band (HTTPD, port 80). Also, when my home network is down (due to a fiber cable cut or some other local or international Internet provider anomaly), I cannot easily check the health of a server on the other side of the world.
So, in comes "out of bounds" remote server management. By using a commercial, wireless NB-IoT network, I can send small command and control messages back and forth between my iPhone and the server as described (and not use HTTPD). This will give me an out-of-bounds comm channel to check on the server even when my main Internet comms are down.
Also, I tend to like these kinds of networking projects more than opening boxes with radar or automatically watering my plants or turning on and off home automation relays or seeing how many 100s of km I can send a "Hello World" LoRa message, etc. Let's see how this networking project goes.
I'll post back after more debugging the serial comms in the libs and see if I can get past my current roadblock.
Stay tuned ![]()

 will post code after I get the reply displaying on iPhone